Thursday, December 29, 2011

Merry late christmas everyone!


On one fine night, I decided to speed towards KL... (Ya right)

Basically was maintaning speed about 100km/h and rev about 3000rpm to get to destination... Since i'm quite familiar with the roads at Sprint Highway, I just Sprint-ed.

Overtaken lots of cars since its like 11pm dy... It's either those car are fast and furious or turtle slow... Took hard corners like nothing...

Comparison towards waja? LOTS of difference:
1. Corners by this car feels like flipping away.
2. High-speed (Not really high) by this car feels like floating.
3. A lot of stones kena milo tin sound.
4. Wind noise is immense like waja travelling at 140-150km/h?

But keeping my throttle about 20cm/Hg punye pressure at high speed does let me realized some useful mods I had done on my car:
1. Insulflex-ed driver side door panel... Road noise is less on my door... I can feel that the other 3 doors are giving me more noise entering the cabin...
2. Insulflex-ed engine bay hood... Engine roar noise is much less and noticable...

I then reached my destination... 
 And while sitting at hotel lobby... I decided to pull out my notebook...
Start thinking how to wire my turbo timer...

But not important...
Merry christmas everyone!

Saturday, December 24, 2011

Soundproof mod...

Remember the previous insulflex post?
I stated that I had done on my door but didn't post pic...
So now here's the pic of my door panel...
Kasi poison...

Arts on applcation... 


This is a collage masterpiece!


Basically just see holes then patch it... Cause i was running out of insulflex that time...


All broken broken pieces to fit into a panel...

Cheapest mod in the car... RM1.70 ONLY!

So here's the stuff that I bought...
Tyre label pressure... Normally comes with car but mine somehow kena torn off dy like this...


Haiz... Label also can peel off one? Dunno how my previous owner handle it...


Btw, dun look down on this cheap mod...
For the first time in the history, I see QUALITY and ULTRA AFFORDABLE parts FOREIGNED MADE for PROTON...
What? This Proton label need to be Made in France? I really dun see the logic of it... And its only RM1.70!


Used WD-40 + Wax to remove it... Finally use fingers and cloth... After using nine cows two tigers punye power... This is the most I can remove...


The label... PW551144... Nice toto number again huh?


Not bad, two separate papers that holds the sticker sticky side. Make application on surface more convenient... Can peel and stick one side first then gradually pull another side... Great job on man ufacturing this part... I still can't believe this sticker is made in France...


So I just stick it lo...

 Originally was planning to stick somewhere else... But nothing beats the convenience of checking tyre pressure label over here... Ended up in the same position again...

Friday, December 23, 2011

Cold air intake...

I called up unker wiki for explanation:


cold air intake is an aftermarket assembly of parts used to bring relatively cool air into a car's internal-combustion engine.

Aftermarket cold air intake systems are marketed with claims of increased engine efficiency and performance. The putative principle behind a cold air intake is that cooler air has a higher density, thus containing more oxygen per volume unit than warmer air.

Ok... enough...
For my case, the design of the hose is by Proton itself. It's an ancient design by those Japanese designers for our sagas in 1990's. However, due to cutting cost issue (I think) the CAI hose is removed for good for my iswara version.

Originally the air intake box is until the radiator there only, which means more hot air from the engine bay will be drawn to the intake manifold to combust. Hot air generally has less oxygen, while cold air has more oxygen... The more oxygen that the carburator can breath, the better the engine response is... Just like placing one human in a room with less oxygen and another human in a room with more oxygen...

Sometimes, people may felt that their car sometimes have poor response in the afternoon and better performance at night. This is a proof of air intakes does matter in terms of engine performance...

Therefore I installed the CAI which draws air from fenders like 1990's saga. The hose cost me RM60... Expensive loh! But it's rare already... Even proton parts centre in glenmarie ran out of this hose since mid 2007... The hose fits perfectly on a square-shaped hole on the side of the engine bay. (The chassis is the same as saga aerobacks in 1990's)

Originally the hose stops at the metal clip i'm having there...
The air intake pipe is from the round dish towards the front metal and radiator...


This hose for RM60 and another RM4 for the clip... Waliao-eh...
Notice that the air con hose is blocking the CAI hose... I just added 2 pieces of insulflex so that the 2 hoses don't rub against each other... Later CAI hose bocor, then air con hose sama bocor lagi expensive...


Unker wiki again:

Risks

Aftermarket cold air intakes can pose a risk of damage to the vehicle.
  • Hydrolock - The intake opening is closer to the street than an original-equipment air intake, and more likely to introduce water into the engine when fording streams or flooded roads.
  • Noise - Stock air filtration systems usually include resonator-based muffling tubes. Removing them reduces pumping losses but increases noise.
  • Can void the vehicle warranty.


Why I opted for such an expensive RM60 old stock plastic hose?
- Old design by proton... Japanese engineer's original design...
- The hose seemed to be removed for this version of iswara cause its selling price is RM 24k/ RM27k... Maybe removing the hose is part of the cut cost programme?
- No risk of having hydrolock as explained above... It's inside fender area and is more protected from water unlike those CAI that is directly in front of bumper. The position is quite high, same level as engine cover! So if go through water most probably your engine will gone first before you choke your engine with water from air intake...
- Dust resistant... No need to change my air filter every service although the filter is below RM10... Fender area has generally less dust compared to normal front CAI facing the roads... You know la, our road ada stone, sand, simen, dust, grass, whatever... Super dirty... Don't even mention plastic bags or socks cover your whole CAI hole... That time you'll really wonder why your car choke like nobody's business...
- Not to worry about warranty, the proton service centre even tighten my CAI correctly for me... I think he must be very curious when he saw this CAI on my ride...
- No fuss installation... Fits perfectly to my engine bay squarish hole!

Performance improvement?
- I didn't really drive in the afternoon in the first place... So by adding this there's no significant improvement that I felt yet... 
- Maybe need to rumble only know eh?

Okla, enough of expensive RM60 mod... Next post will be cheap mod... VERY cheap mod.... Less than RM10, RM5?
Nah... Ori parts some more less than RM5...

Thursday, December 22, 2011

Sudah sampai service...


But I already serviced at 27000+ km... So not important dy la...
Let you buy toto...

30000km servicing is done at Proton service centre Puchong.
It's a long wait although I called up for appointment dy.
Sent car at 955am and got car at 1230pm.
Basically just change Petronas semi-synthethic engine oil, oil filter, oil plug gasket or something...
Then ask them to check air-con tensioner bearing...

Air con tension bearing they just lubricate and say no problem...
It was raining when I receive the car... Total bill up to RM177... Waliao-eh expensive.

I drove and before exit highway... "eeh-eeh-eeeh" is heard when I rev more than 2ooorpm...

Apala air-con beaing no problem... So until today still "eeh-eeh-eeh" inside the car...

Saturday, December 17, 2011

Engine bay mod...

Ok, enough of Toto numbers...

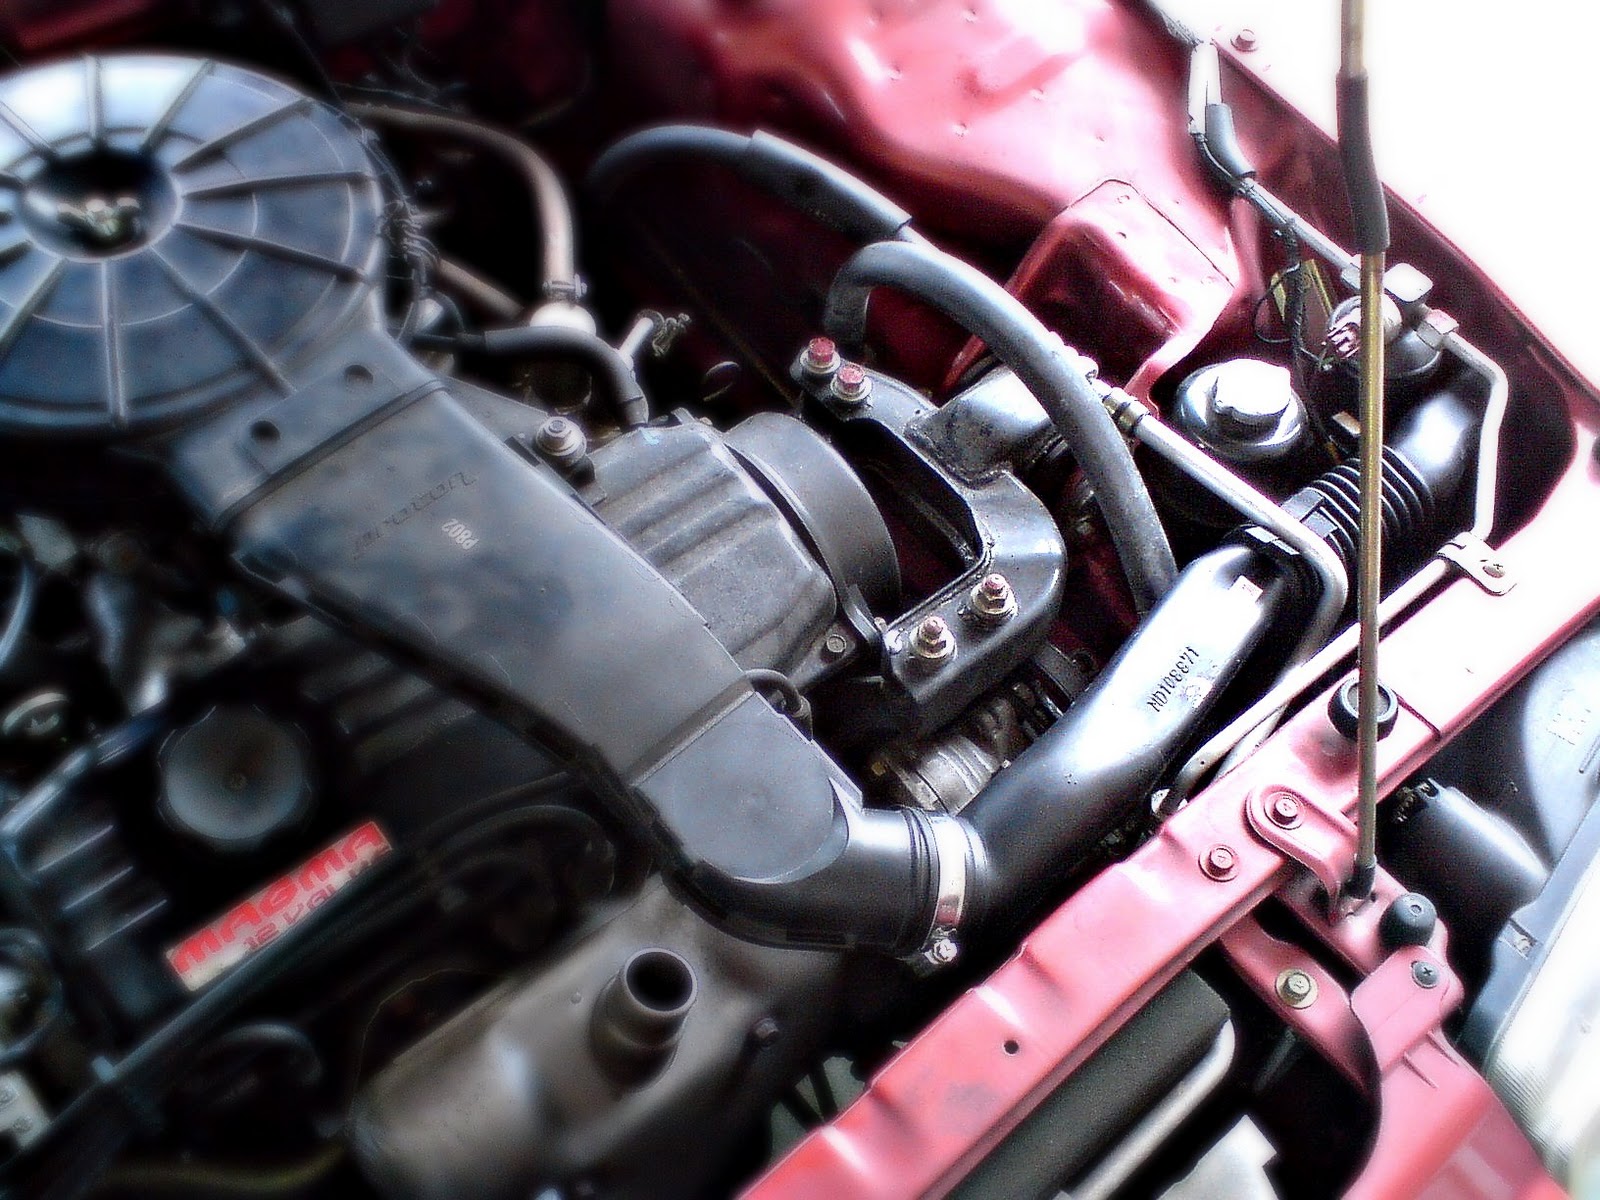
As promised, my engine bay mods...
Before...
I then bought something called insulfex...

Ok, dun play play, it comes in 4' by 5'... Or you want 30m roll? Lol...
There's a comparison of a normal 15cm ruler with insulflex...

If you don't really know what's that, here's some technical info...
Technical Specifications

Flexible Eastomeric Foam Insulation

AVERAGE PHYSICAL PROPERTIES
RATING
TEST METHODS
Density
0.08 - 0.12 gm/cm3
( 5 - 8 lb/cuft )
ASTM D 1667
Thermal Conductivity at 20°C
mean temp.
0.0374 W/mK
(0.26BTU.in/hr.ft2. °F)
ASTM C 177
Temperature Limits °C
-40°C to +105°C

Water Absorption
0.27%(By Volume)
3%(By Weight)
ASTM D 1056
Water Vapour Diffusion Resistance Factor
>5000
DIN 52615
Ozone Resistance
Excellent

Thermal Stability7 days
(% shrinkage)200°F
7 days
220°F
4.5
5.5
ASTM C 548
Average time of burning
Flexibility
Weather and Ultraviolet Rays
Resistance
CLASS 0
CLASS 1
Less than 5 seconds
Excellent
BS 476 PART 6
BS 476 PART 7
ASTM D 635 - 91
Ozone(UV) Resistance And Weather Resistance
Excellent
50pphm/72hrs/40 C
ASTM D 1171
Vertical Burning Test for Flammability of Materials
Within range of UL test requirements
UL 94 (V-0)
(Under writers Laboratories Inc.)
Smoke Density Rating
Within Limits
ASTM D 2843
Evolved Gas During Burning
No Halogen and Nit rosamine Detected
DIN 5346
Noise reduction (Noise Absorption)
NRC 0.14
AS 1045-1988
Oil and Grease Resistance
Excellent
Toxicity - Heavy Metals
Not Detected
USEPA 3052 ICP-OES
Elongation, Tensile And Flexibility
Excellent
Chemical Resistance
Excellent
Odour
Negligible
Electricity Conductance
No
Surface and Physical Properties
Tuff Skin
Not easy broken/torn
Mildew Resistance
Not Fungal Growth


So enough of scientific terms? Actually to summarize in 2 paragraphs...
Insulflex is a flexible and light weight elastomeric nitrile rubber material designed for thermal insulation. Insulflex insulation is generally black in colour, other colours are availble upon request. The product comes in tubing, roll and sheet form.The extruded flexible tubings are specially designed to fit the standard diameters of copper, steel and PVC pipings. Sheets are available in standards precut sizes or in rolls.
Use in:
Insulflex insulation is an expanded closed cell structure provides the ideal and most efficient vapour barrier for the prevention of condensation or frost formation on cooling systems, chilled water and refrigerant lines.
Insulflex insulation also prevent retards heat loss for hot water plumbing and heating, dual temperature piping and solar systems. It protects pipes by acting as a vibration damper and giving protection against corrosion by atmospheric and industrail environment.
Insulflex insulation with its inherent flexibility makes it ideally suited for the insulation of large surface area such as tanks, irregular shaped vessels, air-ducts and large diameter pipes.


Ok la, enough of those... Basically this thing is the black foam that wrap around your air con hose... Go and have a look!

Why insulflex for my ride? Reduce noise la, reduce heat, block UV as stated in the technical specs above? Besides, it's not easily combustible, non toxic, non-odour, water-oil-grease resistant, non-toxic, fungal-free and bla bla bla...   I didn't opt for dynamat or whatsoever because it's overly expensive... RM200 per door... (Pocket on fire) Insulflex? RM13.80 enough for my bonnet and one door... Although won't be as effective as Dynamat, it's pretty affordable and effective for its price...

To fix 1/4 inches thick insulflex into my engine hood...
1. I used old newspaper and a pencil to trace the hood linings... Pretty easy job, just mask tape the news paper in place and start tracing along the sides of the bonnet metal...
2. I add 1.5cm to the sides of the traced line, forming a new line with a bigger area... 
3. Cut out the shape of the traced paper along the new line...
4. Place it on top of the insulflex. Using a pen-knife, start cutting the insulflex according to the newspaper shape... With a sharp pen-knife, it should be very easy to cut out... Just extend your pen knife blade longer so that the cuttings do reach the bottom of insulflex...
5. Invert the news paper and repeat step 4... 1 newspaper cuttings is for 2... Your hood should be isometrical right? Meaning the left triangle should be same shaped with the right triangle, just that the shape is inverted...
6. The bottom 2 triangle has some metal poking out and the windscreen washer is there... So cut holes for them...
6. Apply Dunlop Contact Adhesive on the smooth sides of insulflex. Reason? Secondary science textbooks thought you so... Smooth surface will ensure good contact with glue and the hood surface... Means can use minimal glue to get a good contact. While the rough surface which is facing towards the engine bay will help absorb the sound even better...
7. Wait for 1 minute for the glue to dry a bit then paste it to the hood...
8. Press, press and press all around the insulflex to get a good contact between the insulflex-glue-hood... You won't want the insulflex to drop on your engine while your engine is operating... The damage will be... Sendiri tau la...
9. Wait for it to dry... I left it for half an hour after all is pasted on...
10. After half an hour I go fetch people so the engine heat assisted in drying the glue as well... After I came back, I opened the hood again and pressed all the insulflex again to ensure all in contact with the hood and *touchwood* nothing happened to the insulflex...

Cut according to the newspaper shape...
AFTER :


Nice le...


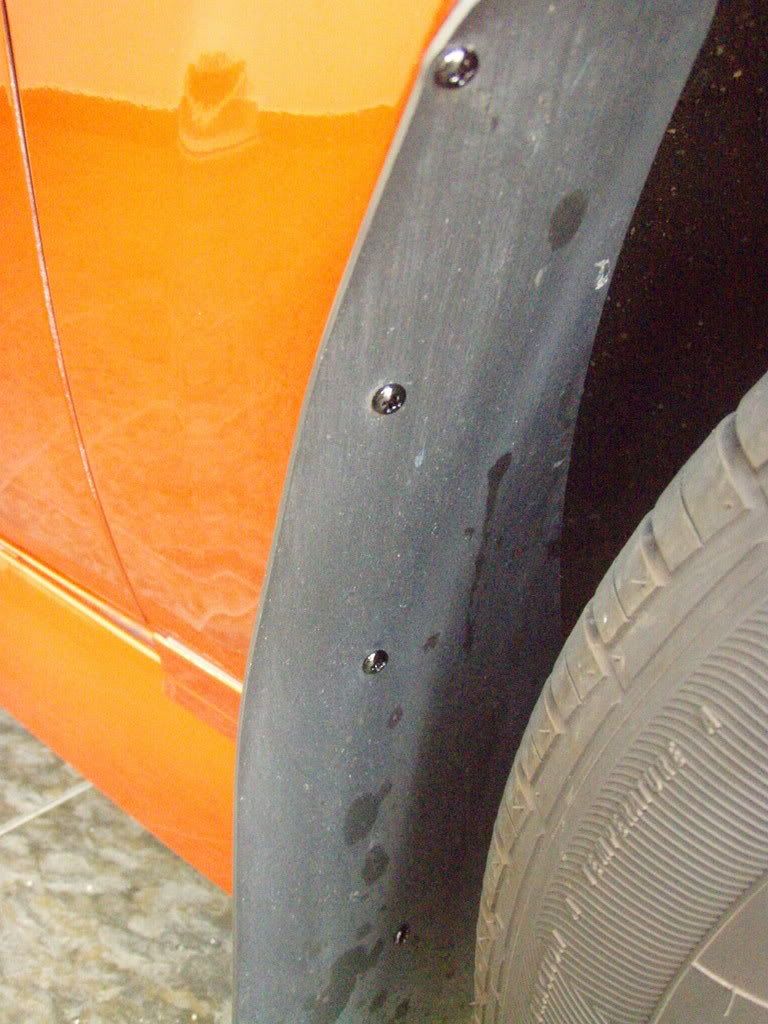
Since I have some more extra's like bits and pieces of insulflex, I used them to stick around the car...

 Why stick on these places?

This places will always kena the rubber part of the door... For long run, the rubber might leave black marks or even scratches the car paint... I used WD-40 to clean the places with the rubber marks. Then I used some insulflex with double sided tape and gao-tim those "rubber-hitting" parts. If you did notice, I also stick some on my hood... The area gets blacken very fast if left unattended...

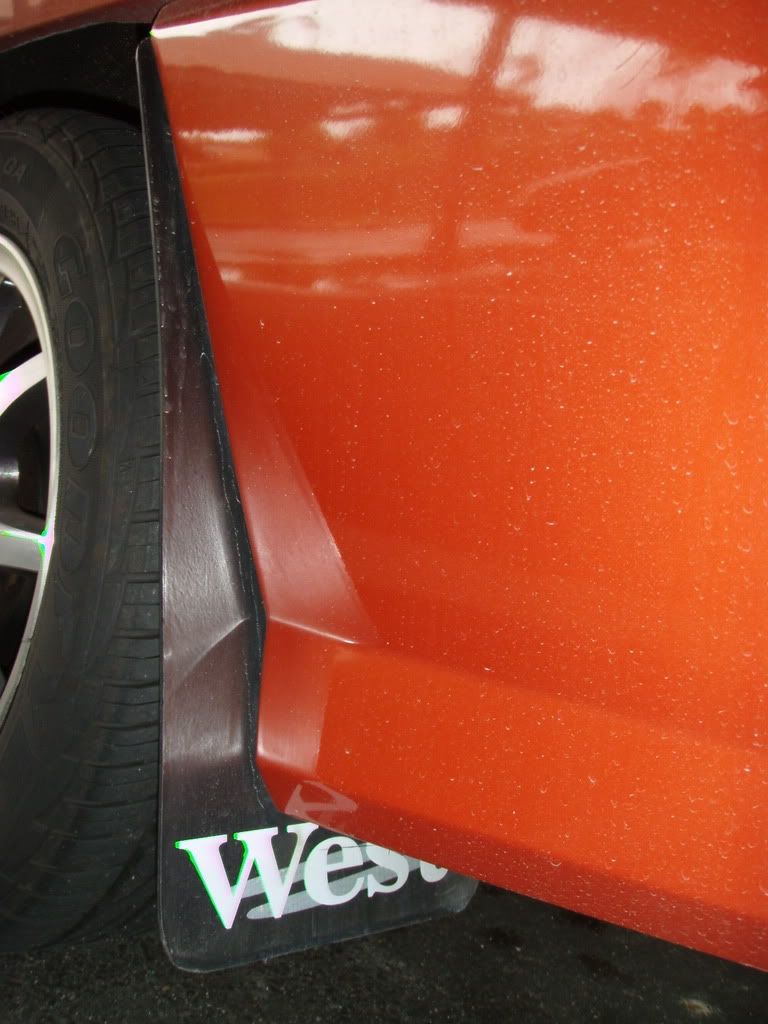
The leftovers I pasted it on driver's side door panel...

Effects:
1. Engine noise has reduced significantly in passengers cabin. Highly noticeable during hard revving...
2. My door opening and closing sounds more solid now compared to other doors. Slight improvement only... I may need bitumen strips to paste on metal parts of doors to get a better effect...

Overall, the results is significant enough to be noticed.

Next post hints:
Yes, it's something inside engine bay too...

Monday, December 5, 2011

Mudguard additional pic...

Since some viewers might opt for installing mudguards for their Iswalas, I better post a close up pic for the rear mudguard...

I'm not using any generic mudguards like Sparco, West nor Ralli Art, but STOCK Proton Iswara mudguards... I give you example of generic mudguard... (Universal mudguard)

Front design (Take note of the position of screws)
It's drilled into the fender and the bodykit...

Back design

Those whatever brand names makes me feeling like my car is "rojak"... No insult... Just my personal feeling... Cause I prefer minimal appearance...

Pics are taken/referenced from neosaint99

(OK, the stock mudguards design are kinda better cause makes my car looks more "stocky"... The "Proton" word is embossed on the rear mudguard, like old sagas and iswaras, which I really like it...)
I gave the mudguards a touch of specialty... Aluminium brown colour on all my mudguards...

Front mudguard... Notice the screws position...
The old iswara type mudguard can perfectly fit into my iswara...
Just need to get the correct screw loh...

The holes for screwing... Once more screw hole is too deep inside the wheels... Can't get a pic of it... But you can see it in bright daylight... It's mounted on a bracket and came as stock with this version of iswaras, just that cut cost so didn't add mudguard...


For the rear mudguards, the holes are totally out. So I got no choice but to drill two holes on my bumper for mounting... Then I used zinc bracket and zip ties to hold the mudguard on the other side.
Btw the holes for the zip ties and zinc bracket are already there. No more drilling needed...


Lets create some suspense... Next post will be about...
Hmmmmmmmmmmmmmmmmmmmmmmm....
Before... Hehehehe...
Yup, exterior mod temporarily halted due to limiting budget...
Let's go to the engine... I mean engine bay...(This is going to be dad-gum more expensive then exterior)
I'm BROKE now...

So see how I spent my last few cents on my next post...

Heavy DRL mod...

Since the DRL only cost RM9.90 per pair...
I added a switch into both of them and they become a switchable light!
I used both of them as extra boot light.

 No changes in front... Didn't even bother to silicon it unless your boot is soaking wet...


Switch at the back of DRL


DRL on pointing downwards towards boot area


DRL pointing out of boot, basically pointing towards people...
I think it's pretty useful in emergency cases...

Broad daylight of course not much difference... Only enough to raise people's attention by a little... Let's see how it performs in the night...

Only boot lamp on...


Boot lamp and DRL on...

Noticed the difference?
Why look like pasar malam jual barang punye car... lol...
I even hold the DRL with only a pair of bolts and nuts... I hand screwed them without any tools...
So in case of emergency I can just unscrew the DRL by hand and perhaps raise some attention when on the roadside? Or I can even use it to brighten an area for tyre change...
Now finding tools and stuffs at boot is so much easier... Just flick the switch on and everything is in view...