
For today it'll be a bit special...
This project will be about uninstalling, refurbish and reinstall the Proton Dash Control Panel as available to many Proton cars (Waja, Saga, Gen 2, Persona). The 5 buttons controls includes switches to alarm, fog lamp, hazard lights, heater for rear window, and also features an extra "useless" button (If not mistaken is Defrost button, applicable for export models only, you won't want it to be in your car in Malaysia).
Over the years of operations, LED lights will gradually dims itself out or totally blowed. If that's not the case, then wiring problem will usually occur for cars after 5 years. That's what happened to this controls. The middle Hazard light button LED is rather dim, and the heater for rear window idle LED experienced problem in lighting up itself. Another very common problem on electronics equipment.
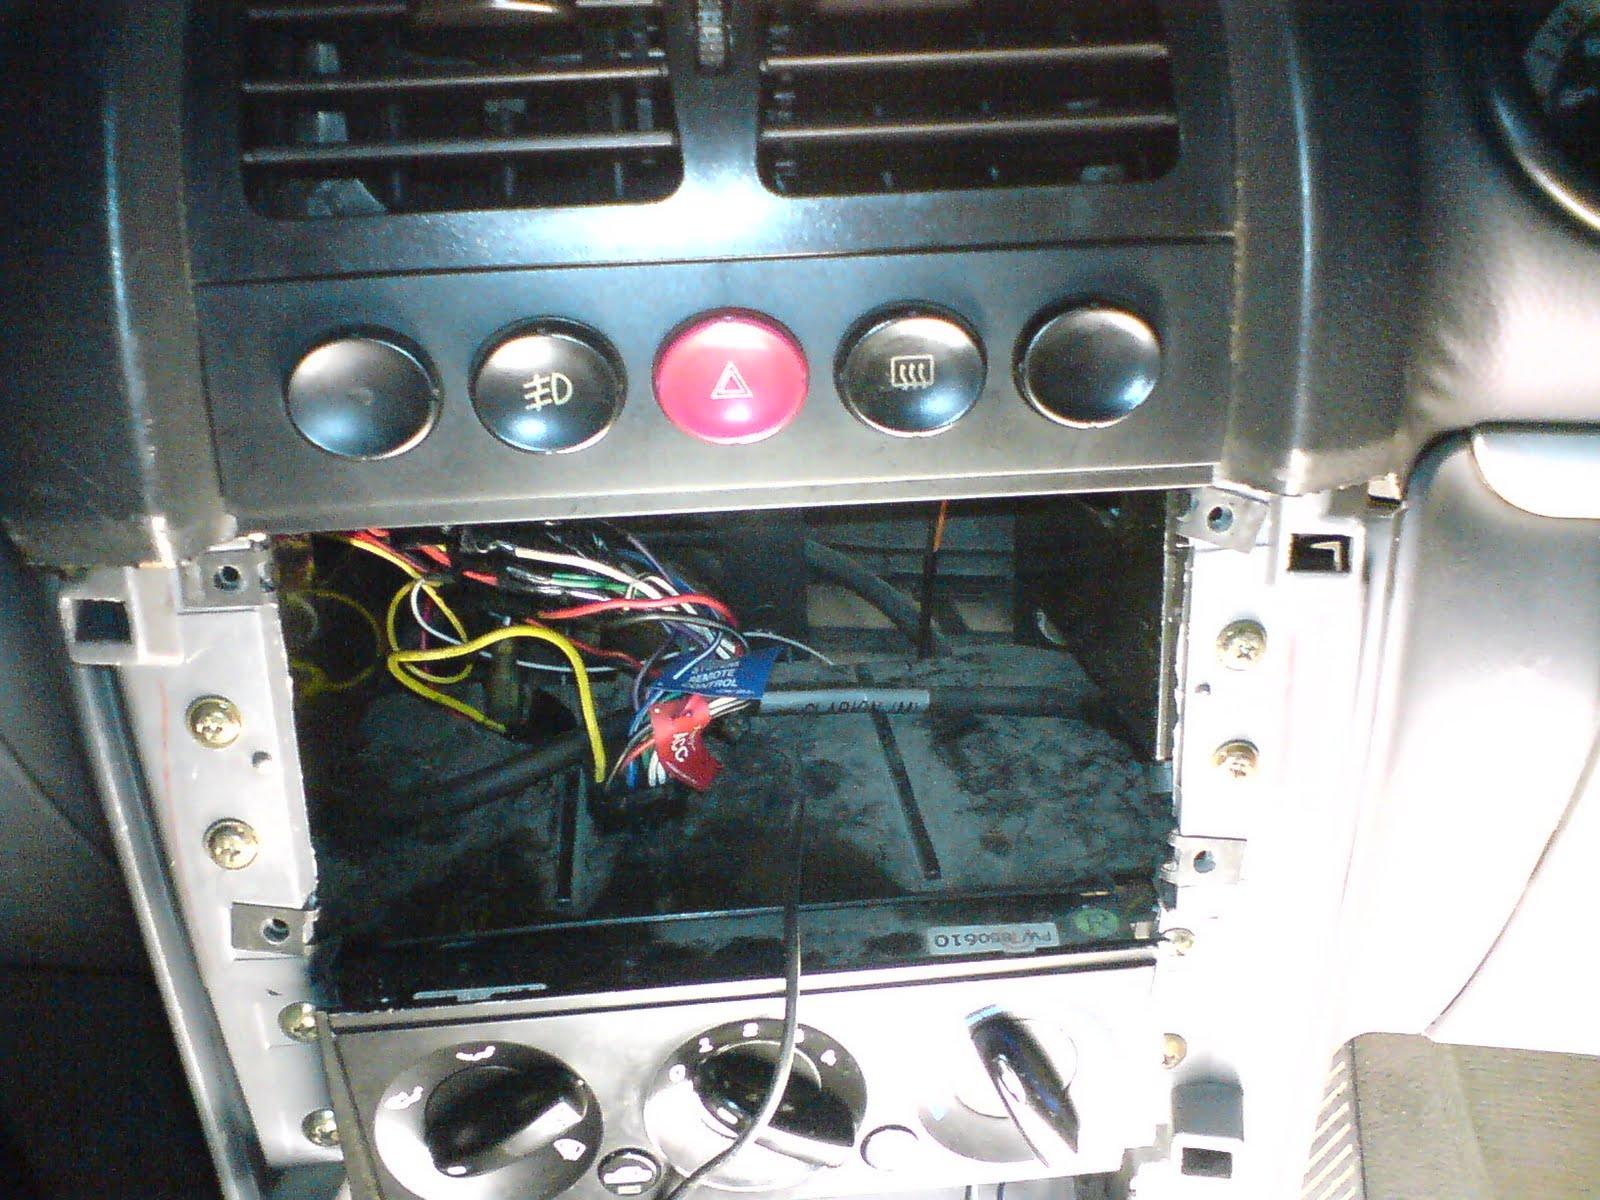
After removing the covers and radio, i'm now able to access the dash controls easily. Just by removing another two extra screws and the front easily detachable panel, i'm able to pull the panel out with slight force.

The panel pulled out with wires still on the port
I then removed the wires connected to the port, then unscrewed the panel. The screw can be found under the sticker saying "Warranty void if seal is broken or tampered." (As if they're giving me warranty) Unscrewing the console will make the back access comes loose, and can be easily opened out using Flat head screwdriver.

View from back
Very obvious, the white ports on the right are for the switches output with the black port on the centre as the input power supply. Thicker materials are used for the output as they involved high current i guess. (Fog lamps and Rear window heater. perhaps defrost too?)
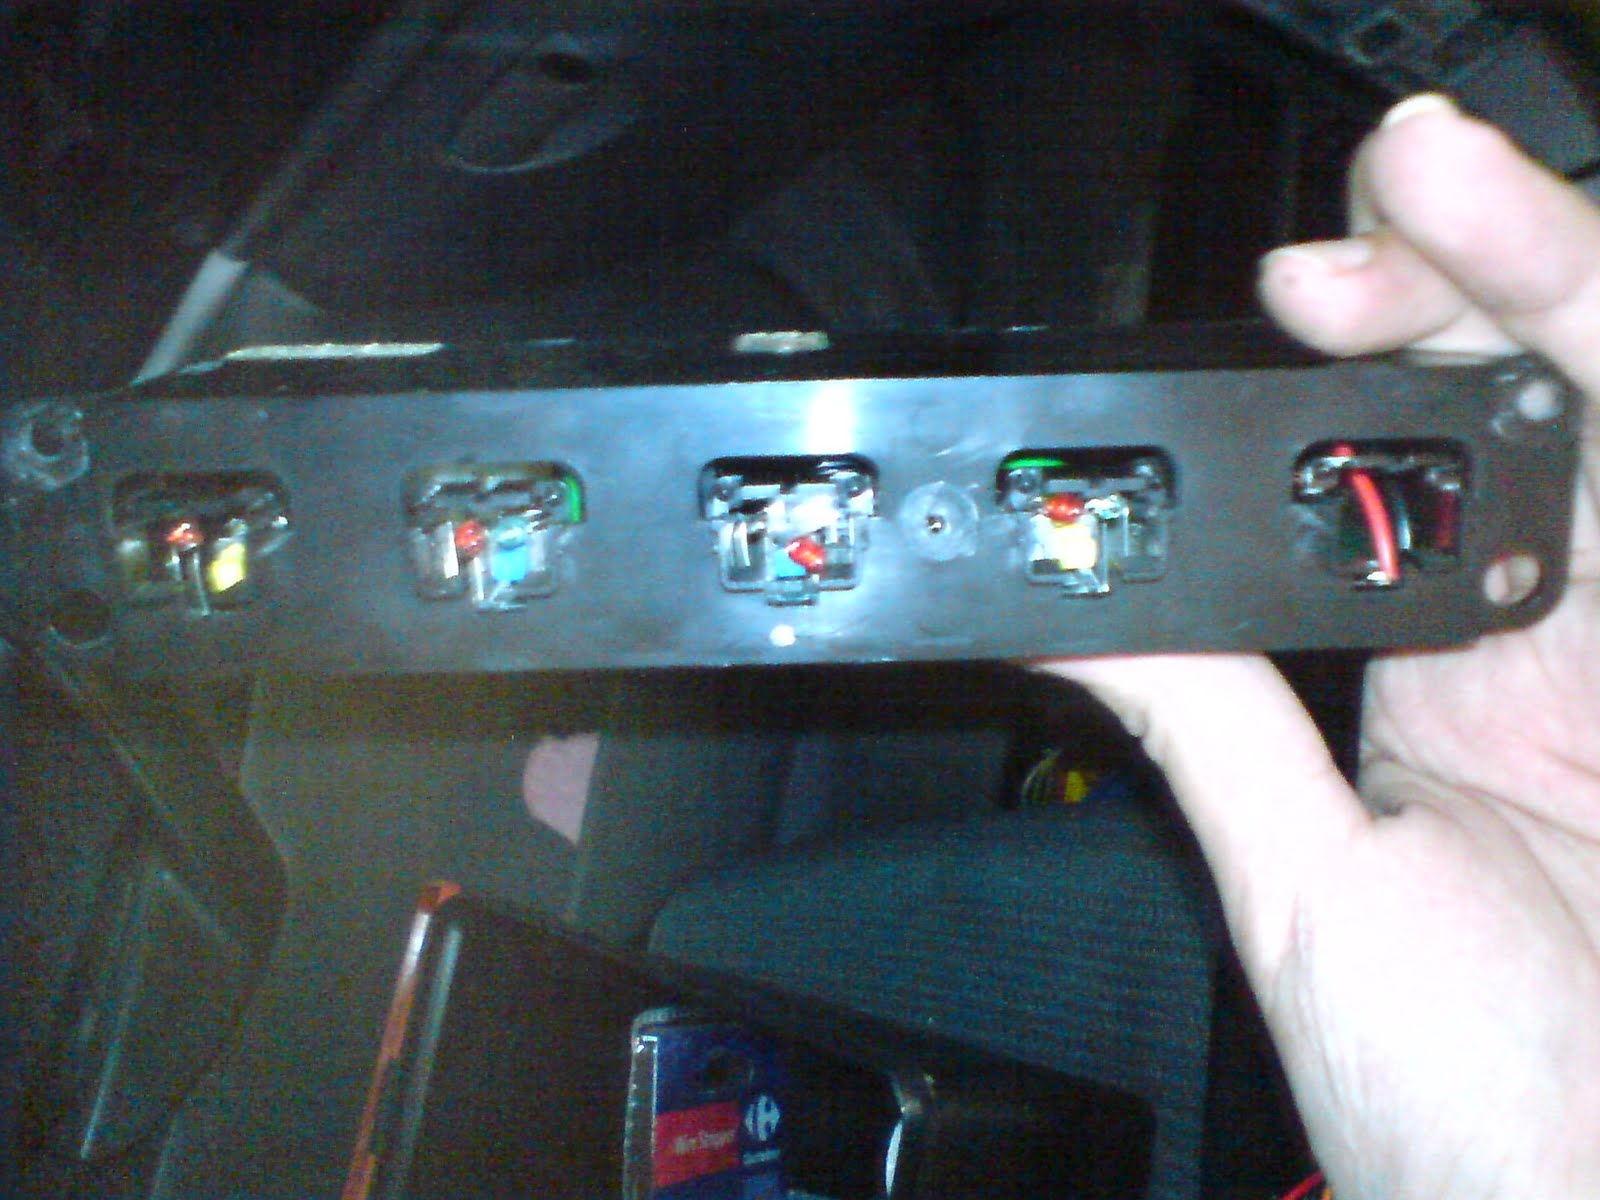
You might notice the last button on the right, which is supposed to be defrost button, is occupied by two wires. Actually a soldered those two wires. Initially for car's interior illumination purpose, but failed as it output is less than 2V... (Optimal voltage for LEDs)


Notice the white LED in the middle and the wires running from second LED to the forth.
I changed the LED for the third switch (Hazard light) just by simple desoldering and soldering work. I even purposely change a bigger one so that it illuminates brighter. The original LED has been very dim. About the hot wiring from second to forth LED is to tap power from the second LED to the forth LED (Heater for rear window). Reason behind is the idle LED doesn't receive any power when i tested with my multimeter. To solve this with the simplest method, use the simplest wire trick. (Simple and Effective)
Thats how i spent another night for Proton...
1 comment:
How to open the panel dashboard like to gear box to get to ecu?
Post a Comment